UPDATE 7/31/19
I would look to use the REST API to load and extract security now. This method will still work but has been improved by Oracle.
UPDATE
After I posted this, I realized that I was not checking for XML special characters and if you had one in your metadata it would error when importing into PBCS. I have corrected this and updated the downloaded script. Sorry if this caused any frustration.
This is part two of the import/export utility for PBCS. Extracting security is fine, but now we want to import the security back into our system. As you may remember we extracted all of the group security and placed it all into one comma separated file using the Powershell utility in the last post.
We are going to utilize LCM to import the security back but we have to get the files and the archive in the correct format. Some key points to remember with the import:
- LCM will import all of the user security from the file. So even though the export creates a file for each group you can import it all in one file.
- There does not seem to be a way to clear the security before you load it. This was possible in the utility. (I will keep playing with this.)
- So based on the last point it is a merge of the security in the system.
CONVERT CSV TO XML
PBCS requires a very basic but specific XML format. I have written a Powershell Script to convert the CSV into the correct format for planning to accept. To utilize the solution you will need two files located here SEC2XML.
The download has two files. Please place these files in the same directory.
- listing.xml – is a file that will be used to build an archive file that can be loaded to your PBCS environment.
- sec2xml.ps1 – is the Powershell script that will convert your csv file into the correct xml format and build an archive based on your original download that can be loaded back into PBCS.
This script will accept two parameters. The first is the path and name of the csv file. The second is the path to the original archive that you extracted application folder. A bit more detail on that parameter below:
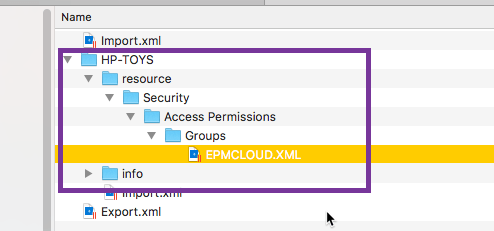
This is an example of an unzipped lcm extract of just my security groups. The second parameter is looking for the path of the application folder in this structure in the below screenshot is HP-TOYS. TOYS is the name of my planning application.

Below is an example of the syntax to run the script:
/sec2xml.ps1 /Users/anthonymanfredi/Dropbox/POWERSHELL/SECURITY/securitymac.txt /Users/anthonymanfredi/Dropbox/POWERSHELL/BLOG/ZIP/HP-TOYS
- /sec2xml.ps1 = The name of the script
- /Users/anthonymanfredi/Dropbox/POWERSHELL/SECURITY/securitymac.txt = The path and name of my security csv file.
- /Users/anthonymanfredi/Dropbox/POWERSHELL/BLOG/ZIP/HP-TOYS = Unzipped application folder.
The script does quite a bit of magic but here is a flow chart highlighting the steps:
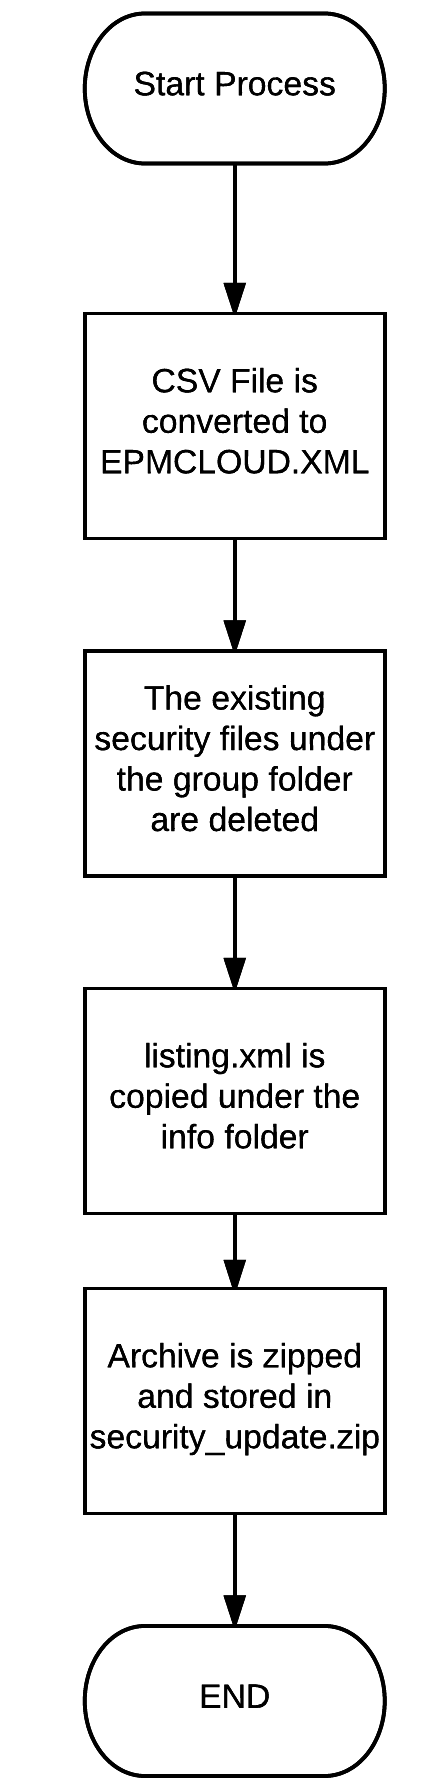
The script will convert the csv file back into the proper xml format. Next it utilize your original zip extract to build a zip file to load your new security upload. I would recommend just using the groups export to simplify the process. The script will delete any existing xml security files in the groups folder and then place the newly created XML file in the directory. I deleted the other files so that there would be no contention on load and the latest updates will come from the new csv file.
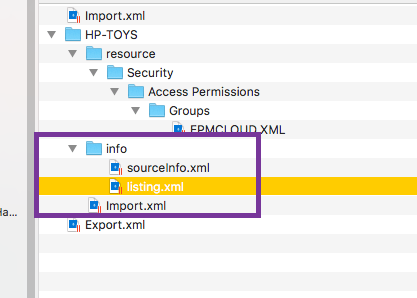
The next step will copy the listing.xml in the info folder. This file will let planning know about the new export that you want to load.
Once that is complete it will zip the structure and put the file security_update.zip in the same directory you executed the Powershell from.

IMPORT THE SECURITY
Now that the archive is built you can login to the PBCS application and navigate to the Migration section.
Once you are there select the Snapshots tab and upload your Archive.
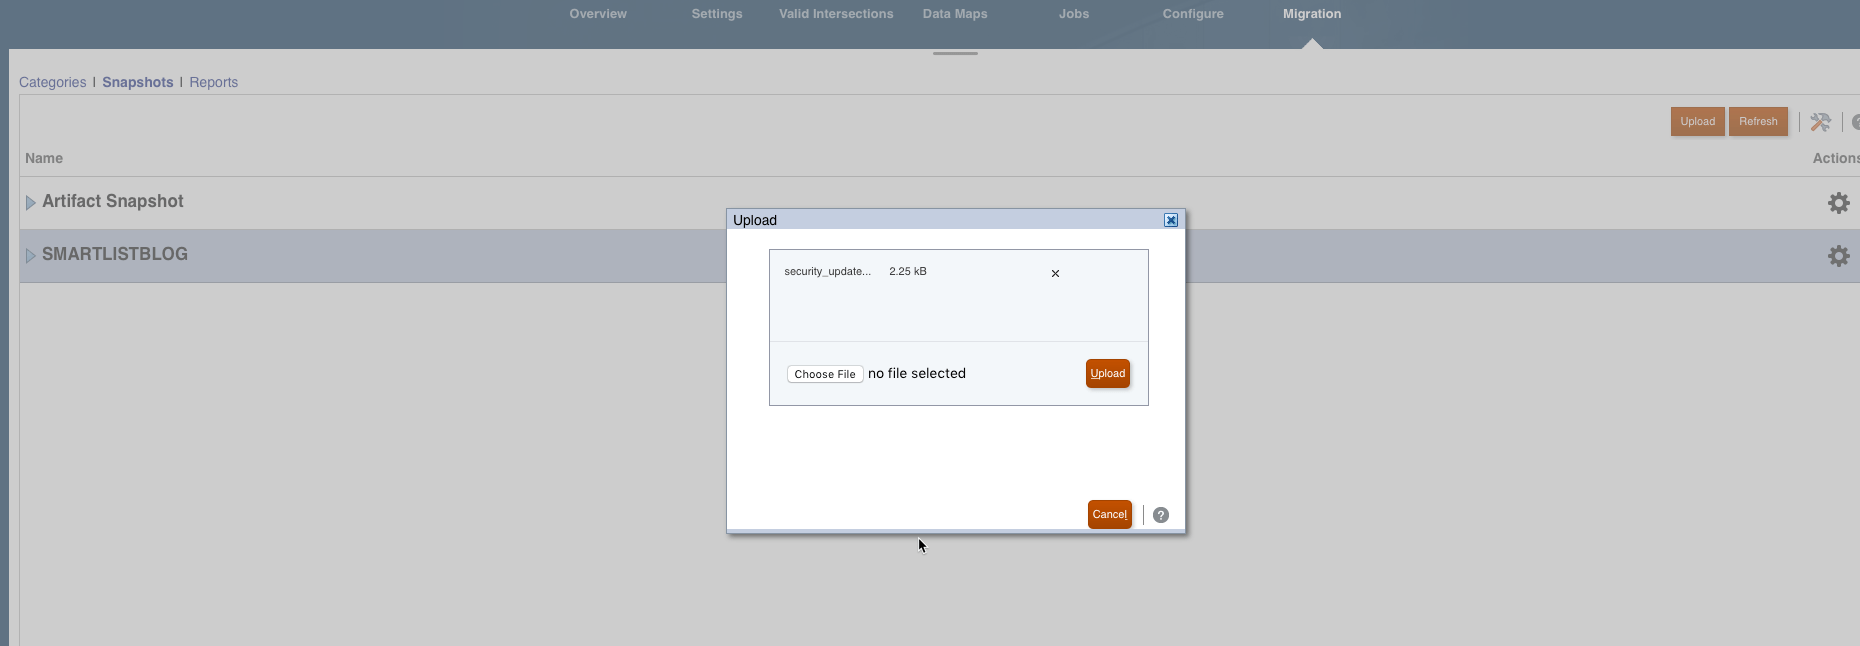
Now that its uploaded you should be able to navigate the archive and see the security like below:
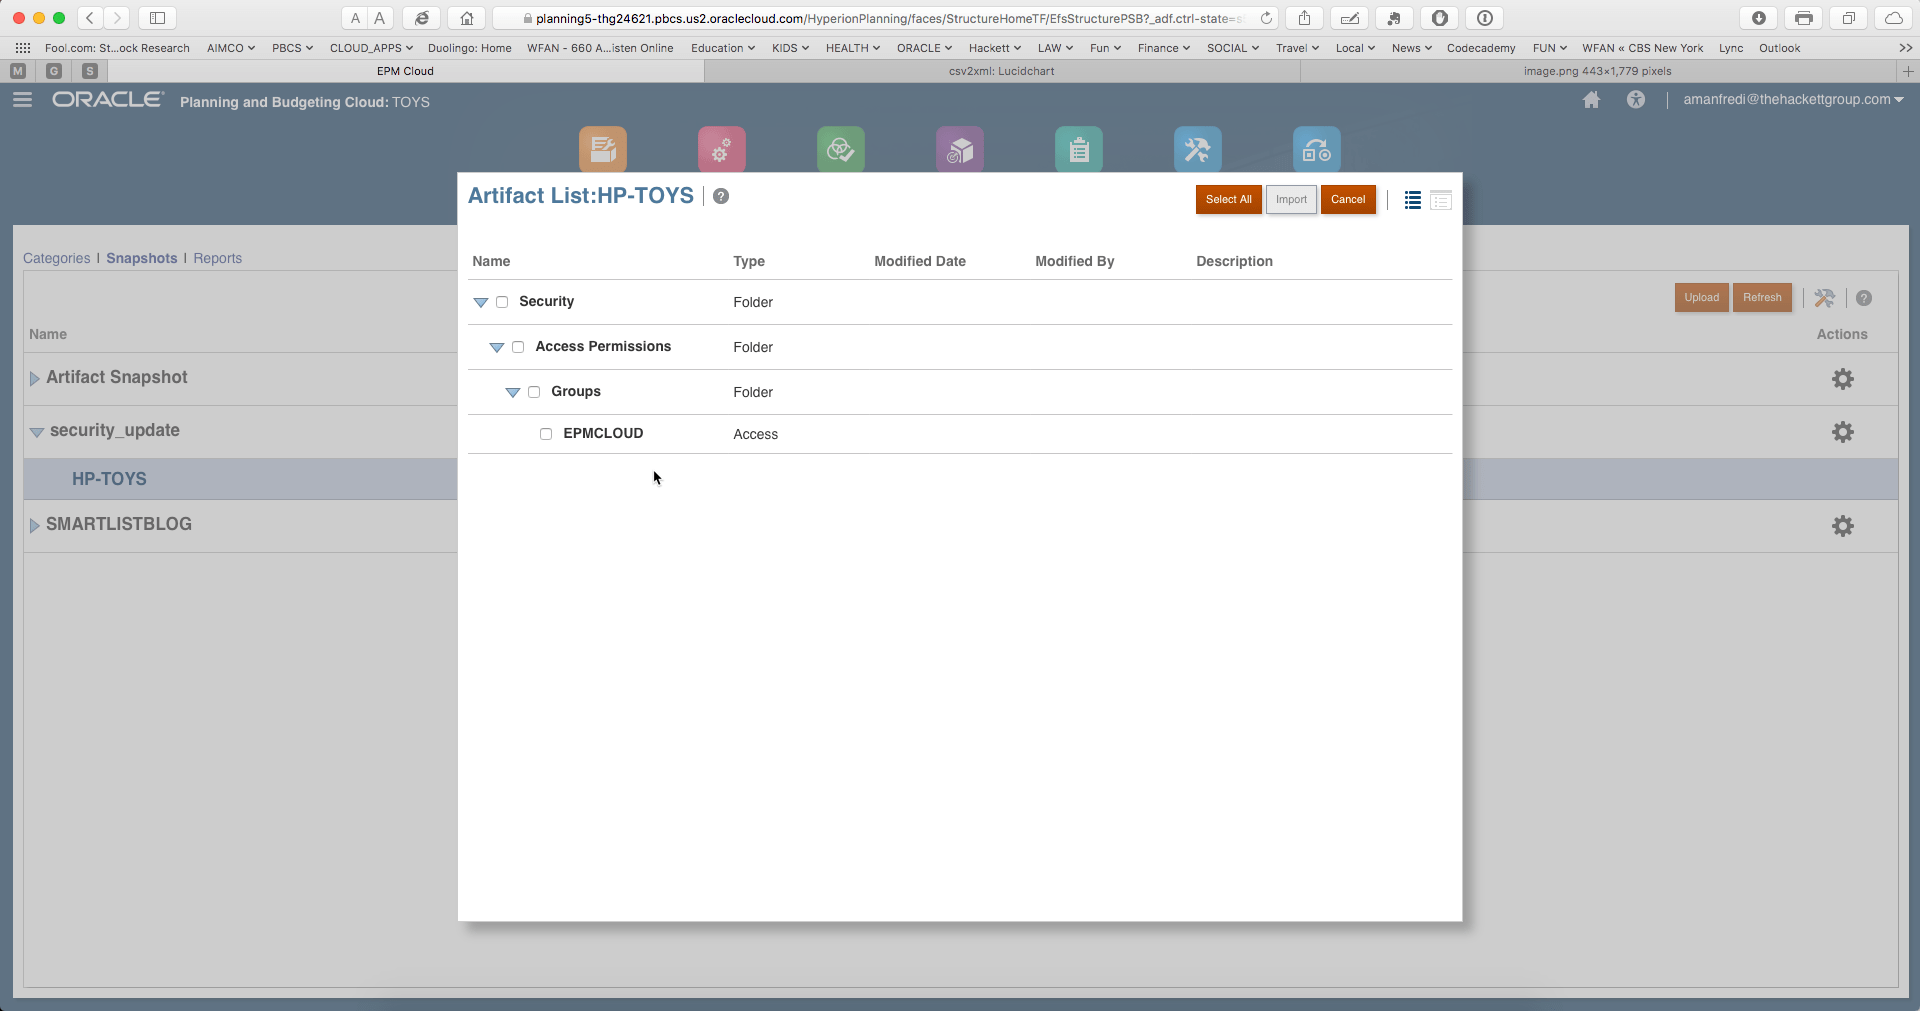
Import the snapshot when your ready and the application security will be updated
Couple of notes:
- You will need to delete the snapshot in PBCS or rename it when you run the process again. You can’t have the same archive twice.
- When you extract the original archive place it in its own folder so the Powershell script will not accidentally zip up extra files.
CONCLUSION
I hope this helps everyone with their security in PBCS. Please don’t try this for the first time in PROD!! Run it in test first. If you have any questions or problems let me know!!

Good experience shared
With
Thanks! Your Welcome!
Thanks Anthony for sharing. Another desirable side effect of loading security through LCM xml files that I noticed, is that you can bypass PBCS (Planning) controls and assign security to the root member of the dimensions. I didn’t test it thoroughly enough but the security filter was successfully exported. So there’s a good chance that this setting can be carried over when doing migrations.
Awesome!
Hi Anthony,
Sorry to reach out with such a delay – didn’t get to work on this for a couple of months. I actually just built out a process to re-upload new security to a new XML file. I deleted all the files in the export and replaced with a brand new XML file with a lot more security groups.
When I upload and import the file – it says it runs successfully. However, when I check the new XML security – nothing happened. The current security as is reflect there.
Not sure what exactly happened – do I need to update the listing.xml file as well?